How to Make Scented Candles
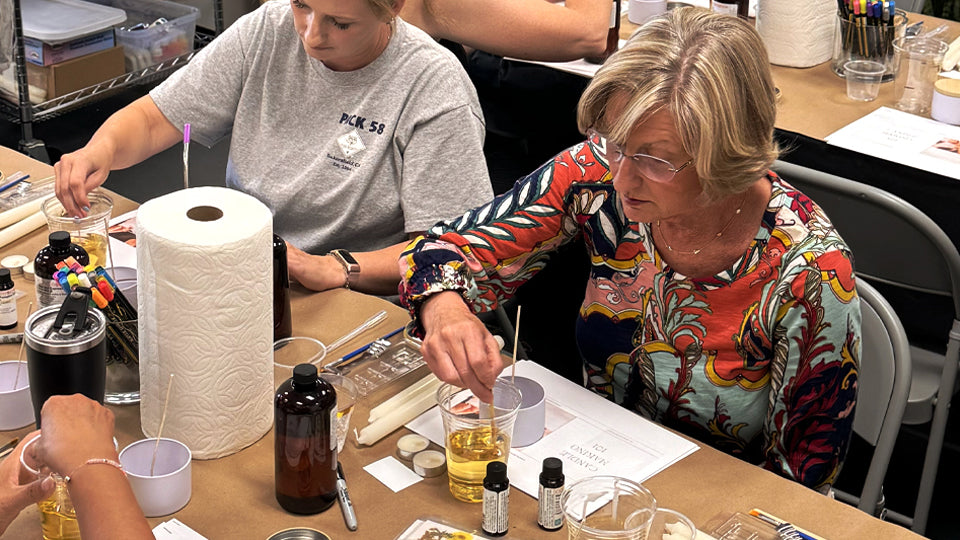
Candles can be made in a variety of ways with many different materials. The materials and directions listed below are for making a scented, soy candle with a single braided wick in a 12 oz candle jar.
Materials
|
10 oz soy wax stir stick wick holder |
thermometer double sided tape scale candle label scissors to cut wick pouring cup |
heat safe bowl or double boiler pen or marker paper towels or newspaper
|
Directions
1. Prepare Your Work Area: Lay down newspaper, paper towels, or a protective sheet to catch any wax spills. Make sure your candle tins are clean and dry.
2. Measure the Wax: Weigh out 10 oz of soy wax using the scale for accuracy. This accounts for the wax needed to fill the container, leaving a bit of extra room. Weigh your vessel and press tare to zero out the scale. Add in your wax until you reach 10 oz.
3. Melt the Wax: Set up a double boiler by placing a heat-safe container with the wax inside a pot of simmering water. Do not boil the water. Alternatively, use a dedicated wax melting pot or microwave safe bowl. Heat the wax, stirring occasionally, until it reaches around 170-180°F (77-82°C). If using the microwave, heat the wax in batches for 1-2 minutes at a time until wax is completely melted and has reached temperature. Use the thermometer to check the temperature and ensure it is heated through.
4. Add Fragrance Oil: Once the wax is melted, remove it from the heat. Allow the wax to cool to around 150-160°F (65-71°C). Add 1 oz of fragrance oil to the melted wax and stir gently for 2 minutes to ensure the fragrance is well incorporated. If you are using multiple fragrances, add in the appropriate amount of each for a total of 1 oz of fragrance oil.
5. Prepare the Wick: Attach the wick to the center of the container’s base using a wick sticker, double sided tape, or a small amount of melted wax. Secure the wick at the top with a wick holder or a pencil placed across the container's opening. If needed, secure with a piece of tape to prevent the wick from moving around.
6. Pour the Wax: Once the wax has cooled to 135°F (57°C), slowly pour the wax into the container, ensuring the wick stays centered. Leave a small amount of wax in the melting pot to top off the candle later if needed. If you are using a bowl to mix your melted wax, transfer the melted wax to a pouring cup first to avoid spilling on your candle vessel.
7. Let the Candle Set: Allow the candle to cool and solidify at room temperature for at least 4 hours or until completely hard.
8. Trim the Wick: Once the candle is fully set, trim the wick to about 1/4 inch above the surface of the wax.
9. Add the label (optional): Write the scent, volume, and any additional batch information you’d like to include. Apply the label to the front of the candle vessel.
10. Cure the Candle: For best results, let the candle cure for at least 24-48 hours before burning. This allows the fragrance to fully integrate with the wax.
11. Test the Candle: Light the candle to test its burn and scent throw. Make adjustments if needed for future batches.


